Introduction:
Picture this: You’re deep in the wilderness, miles from the nearest power outlet, and your stomach starts growling. No refrigeration camping meals can save the day in situations like this. According to a recent outdoor recreation survey, 67% of campers say meal planning is their biggest challenge when heading off-grid. But here’s the thing – you don’t need a cooler full of ice to enjoy delicious camping meals! As someone who’s spent countless nights under the stars, I’ve discovered that no-refrigeration meals can be just as satisfying as their perishable counterparts. Let’s explore the best shelf-stable camping meals that’ll make your outdoor adventures both tasty and hassle-free.
Essential No-Refrigeration Pantry Items
You know what’s funny? My first camping trip as an adult was a complete disaster because I packed like I was stocking my home pantry. I brought glass containers (rookie mistake!), foods that needed refrigeration after opening, and totally forgot about weight and space limitations. After 15+ years of camping and countless trips later, I’ve finally mastered the art of packing shelf-stable foods that are both practical and delicious.
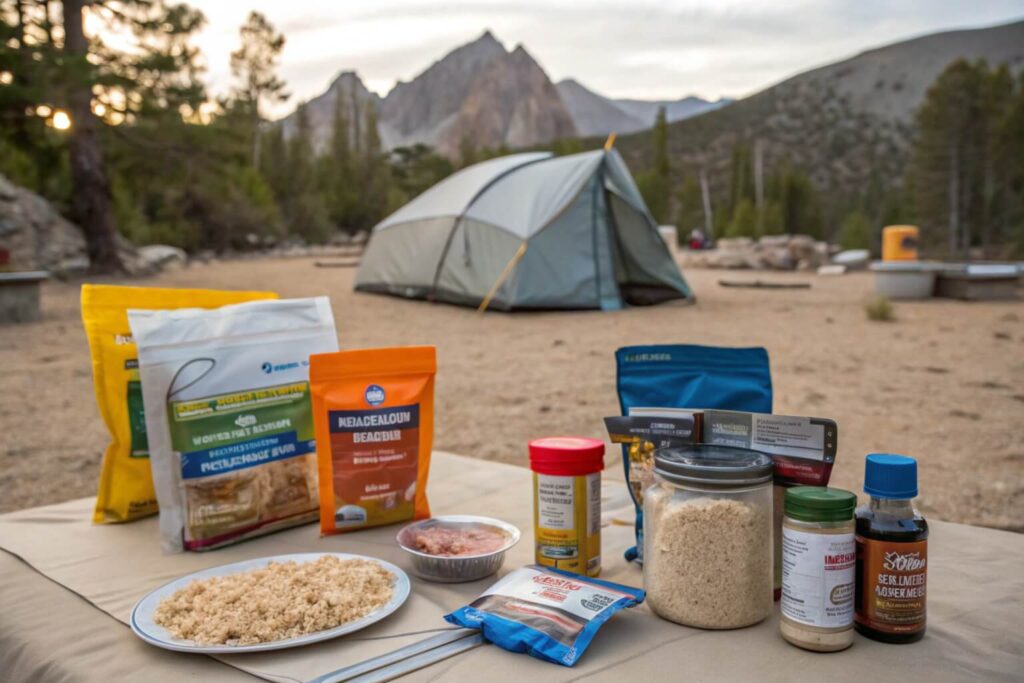
Let me break this down into the ultimate pantry list that I swear by. I’ve tested these items in everything from scorching desert heat to humid mountain conditions, and they’ve never let me down.
Essential Dry Goods (These are your foundation):
- Quick-cooking rice (instant or parboiled)
- Couscous (seriously, it’s a game-changer!)
- Dried pasta (I prefer small shapes like orzo or small shells)
- Instant mashed potatoes (don’t judge – they’re lightweight and filling!)
- Oatmeal packets
- Dried beans (pre-cooked and dehydrated)
- Powdered milk
- Powdered eggs
- Coffee/tea bags
Protein Sources (The key to staying energized):
- Tuna/chicken/salmon in foil packets ($2-3 each)
- Beef/turkey jerky ($8-12 per bag)
- Nuts and seeds ($5-7 per pound)
- Protein powder ($15-20 for a small container)
- Peanut butter in squeeze packets ($4-5 for 6 packets)
Seasonings and Flavor Enhancers (Trust me, these make all the difference):
- Salt and pepper in mini containers
- Powdered bouillon ($3-4)
- Small spice packets (I pre-portion these at home)
- Dried herbs
- Hot sauce packets (grab extras from restaurants!)
- Olive oil in a leak-proof container
Here’s a pro tip I learned the hard way: Always store your dry goods in double-layered Ziploc freezer bags – not the regular ones! I once had all my rice spill inside my backpack because I used a thin bag. Now I use freezer bags as my first layer, then group similar items in a second, larger freezer bag. This system has saved me countless times during unexpected rain showers.
Let’s talk shelf life – this is crucial for longer trips.
Here’s what I’ve learned about how long things really last:
- Dried pasta/rice/couscous: Practically forever if kept dry (1+ years)
- Powdered milk: 3 months after opening
- Nuts and seeds: 2-3 weeks (they can go rancid in heat)
- Jerky: 1-2 weeks after opening
- Protein powder: 6 months if kept dry
- Bouillon: 1 year
- Foil packet meats: Until expiration date, but eat within 24 hours of opening
For food safety (because nobody wants food poisoning in the wilderness!), I follow these rules religiously:
- Never eat anything that smells off or has a broken seal
- Keep all food in waterproof containers or bags
- Store food away from direct sunlight
- Use dry, clean utensils for every meal
- Pack out ALL food waste (this is crucial for both environment and bear safety)
Container recommendations – here’s what actually works:
- Small Nalgene containers for oils and liquid seasonings
- Screw-top plastic containers for easily crushed items
- Silicone squeeze tubes for nut butters (game changer!)
- Heavy-duty freezer bags for everything else
Budget-Friendly Shopping Tips (because camping gear is expensive enough!):
- Buy in bulk and repackage at home
- Look for sales on foil packet meats (I stock up when they’re $1 each)
- Check discount stores for dried goods
- Consider store brands for basic items
- Watch for clearance camping meals at outdoor stores
A basic 3-day supply of these essentials typically costs me around $50-60, breaking down to about $6-7 per person per day. That’s not bad considering these meals can be just as satisfying as restaurant food when prepared right!
One final tip: create a master packing list and laminate it. Every time I skip this step, I forget something crucial. My list lives in my camping bin, and I haven’t forgotten my salt in three years now – and believe me, unseasoned camp food is just sad!
Remember, these aren’t just random items – they’re the building blocks of countless meals that’ll keep you energized and satisfied on the trail. The key is to find the right balance between weight, nutrition, and taste. And don’t forget to pack a little treat – for me, it’s always a small bar of dark chocolate. Because sometimes, after a long day of hiking, you just need something special!
Quick and Easy No-Cook Breakfast Ideas
Let me tell you about my journey with camp breakfasts – it’s been quite the adventure! Back when I first started camping, I thought I needed a hot breakfast every morning, complete with pan-fried everything. After one particularly frustrating morning trying to light my camp stove in the rain while hangry (you know that dangerous hungry-angry combo!), I realized there had to be a better way.
Here’s the thing about camping breakfasts that nobody tells you: the simpler, the better. According to my hiking app, I actually log more morning miles when I opt for a no-cook breakfast. Plus, not having to pack up a messy stove before hitting the trail? That’s what I call a win!
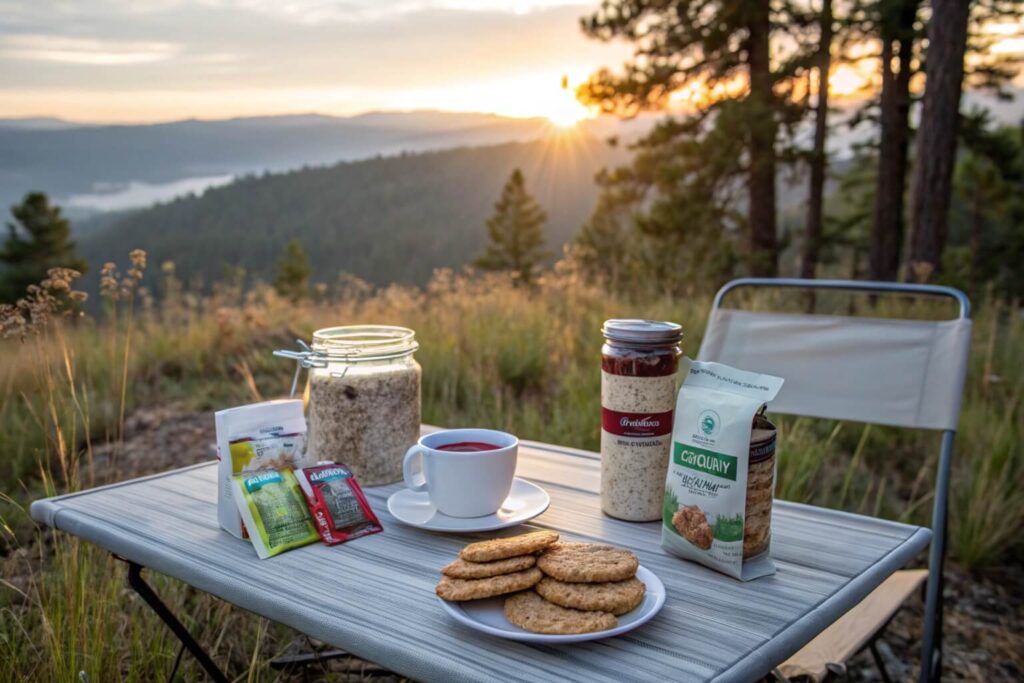
My absolute favorite discovery has been overnight oats with a twist. But not just any overnight oats – I’ve perfected a shelf-stable version that’s literally changed my camping game. Here’s my never-fail recipe that I prepare at home:
In a ziplock bag, I combine:
- 1/2 cup quick oats
- 2 tablespoons powdered milk
- 1 tablespoon chia seeds
- 1 tablespoon maple sugar (it dissolves better than regular sugar)
- A pinch of salt
- Cinnamon to taste
At camp, I just add about 3/4 cup of cold water before bed, shake it up, and by morning, I’ve got a creamy, pudding-like breakfast waiting for me. Pro tip: Pack small packets of nut butter to stir in for extra protein and staying power.
But let’s talk about those mornings when you don’t plan ahead. I always pack what I call my “instant breakfast insurance” – a mix of shelf-stable ingredients that can be thrown together in seconds. This has saved me countless times, especially on multi-day trips:
- Granola (I make my own with extra nuts and dried fruit)
- Powdered coconut milk (it tastes WAY better than regular powdered milk)
- Dried fruit (mangoes and cranberries are my favorites)
- Hemp seeds (for protein and omega-3s)
You know what’s really been a game-changer? Those little squeeze packets of nut butter. They’re like gold on the trail! I used to bring a whole jar, but after one memorable incident involving a curious raccoon and my backpack, I switched to packets. They’re perfect for squeezing onto apple rings (yes, I dehydrate my own apples – it’s cheaper and they taste amazing).
Temperature Matters
Temperature is important, even for no-cook breakfasts. In cold weather, I prepare my overnight oats with hot water before bed and wrap the container in a sock – it’s still cool by morning, but not freezing cold. In summer, I do the opposite – I keep my breakfast bag at the bottom of my pack where it’s coolest.
Variety is Crucial
For those longer trips, variety is non-negotiable. Trust me, by day four of the same breakfast, you’ll be dreaming of your home kitchen. Here’s my 5-day no-cook breakfast rotation:
Day 1: Overnight oats with dried berries and nut butter
Day 2: Granola with powdered coconut milk and dried mango
Day 3: Muesli (pre-soaked in water with powdered milk) with nuts and seeds
Day 4: Protein smoothie bowl (made with powdered protein, powdered milk, and crushed freeze-dried fruit)
Day 5: High-protein breakfast cookies (homemade before the trip) with nut butter
Breakfast Cookies
Speaking of those morning cookies – they’re my secret weapon for really early morning starts. I make them at home with oats, protein powder, dried fruit, and seeds. They’re like a granola bar but better because you can customize them exactly how you like. I’ll often crumble one over my overnight oats for extra texture.
Morning Coffee
Just because you’re doing no-cook doesn’t mean you have to give up your morning caffeine! I’m a huge fan of cold brew coffee bags (like tea bags, but coffee). Just steep them in your water bottle overnight, and you’ve got smooth, non-acidic coffee in the morning. No stove required!
Here’s what I’ve learned about portion sizes: For an active day of hiking, I aim for about 400-500 calories at breakfast. This usually means:
- 1/2 cup dry oats or 3/4 cup granola
- 2 tablespoons of nuts or seeds
- 1-2 tablespoons of dried fruit
- 1 packet of nut butter
And remember – always pack an extra breakfast! I’ve had more than one breakfast accidentally spill or get wet, and having a backup has saved many a morning (and arguably, some friendships – nobody likes a hangry hiking buddy!).
The beauty of these no-cook breakfasts is that they’re not just for camping – I actually use a lot of these ideas for busy workday mornings now too. Sometimes the best solutions come from trying to solve one problem and ending up with an answer to another one entirely!
Satisfying Lunch Options for the Trail
Can I tell you about my biggest trail lunch mistake? Years ago, I packed a bunch of PB&J sandwiches for a three-day hike, only to find them completely squished into an unrecognizable mess by day two. Not to mention that the bread had turned into a weird, humid blob in the summer heat. Talk about a lunch fail! These days, I’ve got my trail lunch game down to a science, and I’m excited to share what actually works.
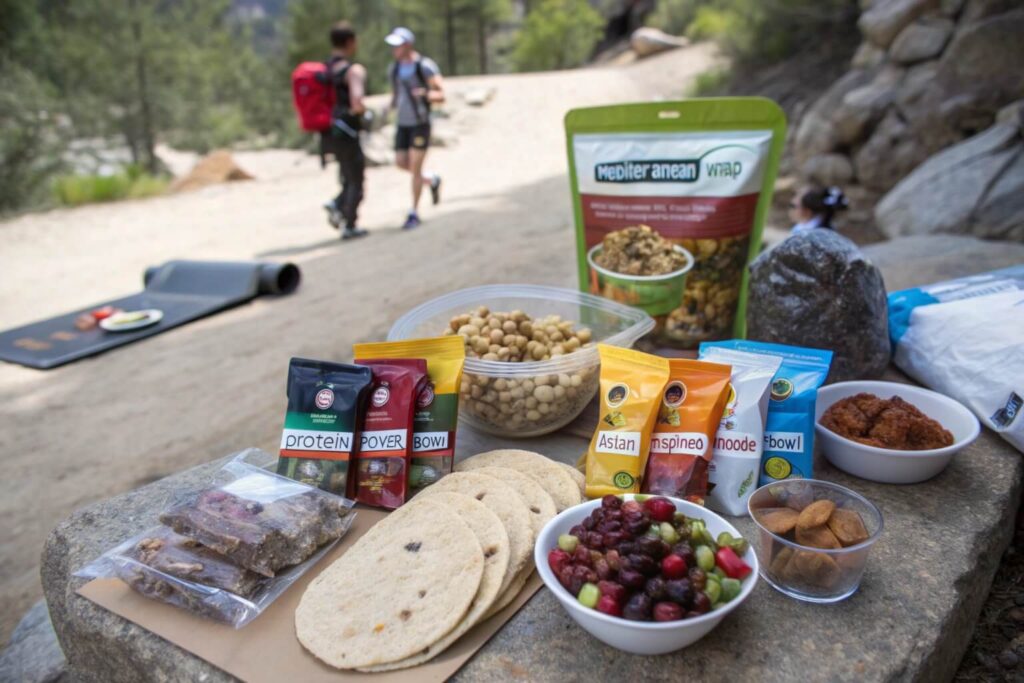
First, let’s talk about my absolute favorite trail lunch invention: the “deconstructed sandwich wrap.” Trust me, this changed everything about how I pack trail lunches. Instead of making sandwiches ahead of time, I bring:
- Tortillas (they hold up WAY better than bread)
- Squeeze packets of condiments
- Foil packets of tuna or chicken
- Shelf-stable hard cheese (aged cheddar or parmesan)
- Dried veggie flakes for crunch
The key is to assemble everything right before eating. This way, nothing gets soggy, and you can adjust portions based on how hungry you are. Pro tip: warm your tortilla on a rock in the sun for a few minutes – it makes it more pliable and oddly fancy-feeling!
Let me share my top three no-fail trail lunch combinations that I’ve perfected over the years:
- Mediterranean Wrap:
- Tortilla
- Foil packet of tuna
- Sun-dried tomatoes (packed in a separate baggie)
- Shelf-stable parmesan (the kind that doesn’t need refrigeration)
- Olive oil packet
- Italian seasoning Cost per serving: About $3.50
- Protein Power Bowl:
- Pre-cooked and dehydrated quinoa (rehydrate with cold water)
- Nuts and seeds mix
- Dried cranberries
- Chicken packet
- Olive oil and lemon pepper seasoning Cost per serving: About $4.00
- Asian-Inspired Noodle Bowl:
- Quick-cooking vermicelli noodles (they soften in cold water!)
- Sesame oil packet
- Soy sauce packet (save these from takeout)
- Crushed peanuts
- Dried seaweed Cost per serving: About $2.50
Here’s something I wish someone had told me earlier: lunch is when you really need to focus on salt intake, especially on hot days. I learned this the hard way after getting dehydrated on a particularly strenuous hike. Now I always pack what I call my “salty snack sides”:
- Beef or turkey jerky
- Mixed nuts with extra salt
- Dried seaweed snacks
- Pretzel sticks
For those really long days when one lunch isn’t enough, I’ve developed what I call my “second lunch” system. It’s basically a collection of dense, nutrient-rich foods that don’t need any preparation:
- Trail mix with chocolate chips (the chocolate is non-negotiable!)
- Energy balls (I make these at home with dates, nuts, and protein powder)
- Dried mango (nature’s candy, I swear)
- Crackers with squeeze cheese (don’t judge – it’s delicious on the trail!)
Let’s talk about food safety for a minute, because this is crucial. My “never fail” food safety rules for trail lunches:
- Keep all meats in sealed foil packets until ready to eat
- Use separate baggies for different components
- Eat any opened packages completely – never save partial portions
- Keep lunch foods in the middle of your pack where temperature is most stable
- Always carry hand sanitizer and use it before handling food
Here’s my genius tip for organizing trail lunches: I use different colored bags for different days. Day one is blue, day two is green, etc. This way, I never have to dig through my entire pack to find what I need. It seems simple, but it’s been a game-changer for organization!
Speaking of organization, here’s how I pack my lunch bag for a day hike:
- Main lunch components in one watertight bag
- Salty snacks in another
- “Second lunch” items in a third
- Emergency snacks (because you never know!) Total weight: Usually around 1-1.5 pounds per day
One thing I’ve noticed is that my appetite changes dramatically at altitude. Above 8,000 feet, I tend to prefer smaller, more frequent meals rather than one big lunch. That’s why I always pack my lunch components separately – it gives me the flexibility to eat however my body needs that day.
Temperature management is crucial too. On hot days, I’ll often put my lunch bag next to my water bladder – the cool water helps keep everything at a reasonable temperature. Just make sure everything is well-sealed to prevent any moisture issues!
The most important thing I’ve learned about trail lunches?
They need to be simple enough that you’ll actually want to stop and eat them. I’ve seen too many hikers skip lunch because their food was too complicated to prepare on the trail. Remember: the best trail lunch is the one you’ll actually eat!
And one final tip: always pack one “luxury” lunch item – something that feels like a treat. For me, it’s usually a small packet of dried fruit or a special chocolate bar. When you’re tired and hungry on the trail, having something to look forward to can make all the difference in the world!
Hot Dinner Meals Without Refrigeration
You know what they say about dinner being the reward for a long day of hiking? Well, let me tell you about the time I tried to make “gourmet” pasta with dried mushrooms in the backcountry. I was so proud of my fancy ingredients until I realized I’d forgotten one crucial thing: a way to strain the pasta! Picture me there, trying to drain boiling water with my bandana while my hiking buddy couldn’t stop laughing. These days, I keep things much simpler – but trust me, the meals are even more delicious.
Let me share my absolute favorite no-refrigeration dinner recipe that I’ve perfected over countless camping trips.
Backcountry Coconut Curry Rice:
Ingredients (serves 2 hungry hikers):
- 1 cup instant rice
- 2 tablespoons powdered coconut milk
- 1 tablespoon curry powder
- 1 packet chicken or tofu (shelf-stable)
- Dried vegetables (I use carrots, peas, and onions)
- 1 packet olive oil
- Salt and pepper to taste Total cost: About $6 for two servings
The magic happens when you rehydrate those dried veggies – they soak up all that curry flavor and taste like they were just picked from the garden! And here’s my secret ingredient: a tiny bottle of sriracha. It weighs practically nothing but transforms every meal.
Now, let’s talk about my five go-to dinner formulas that never fail:
- The One-Pot Pasta Magic: Base: Quick-cooking pasta Protein: Tuna or salmon packet Sauce: Olive oil + dried herbs + parmesan Veggies: Dehydrated mixed vegetables Estimated cooking time: 10 minutes Cost: $5-6 per serving
- Couscous Creation: Base: Instant couscous Protein: Chicken packet Extras: Sun-dried tomatoes, pine nuts Seasonings: Mediterranean herbs, garlic powder Estimated cooking time: 5 minutes (fastest dinner ever!) Cost: $4-5 per serving
- Rice and Beans Fiesta: Base: Instant rice Protein: Dehydrated beans Extras: Taco seasoning, crushed tortilla chips Toppings: Squeeze cheese, hot sauce Estimated cooking time: 15 minutes Cost: $3-4 per serving
- Instant Mashed Potato Bowl: Base: Instant potatoes Protein: Beef or chicken packet Extras: Dried vegetables, gravy powder Seasonings: Herbs, pepper Estimated cooking time: 8 minutes Cost: $4-5 per serving
- Asian Noodle Bowl: Base: Quick-cooking rice noodles Protein: Nuts, seeds, or chicken packet Sauce: Powdered coconut milk + curry paste Extras: Dried mushrooms, seaweed Estimated cooking time: 12 minutes Cost: $5-6 per serving
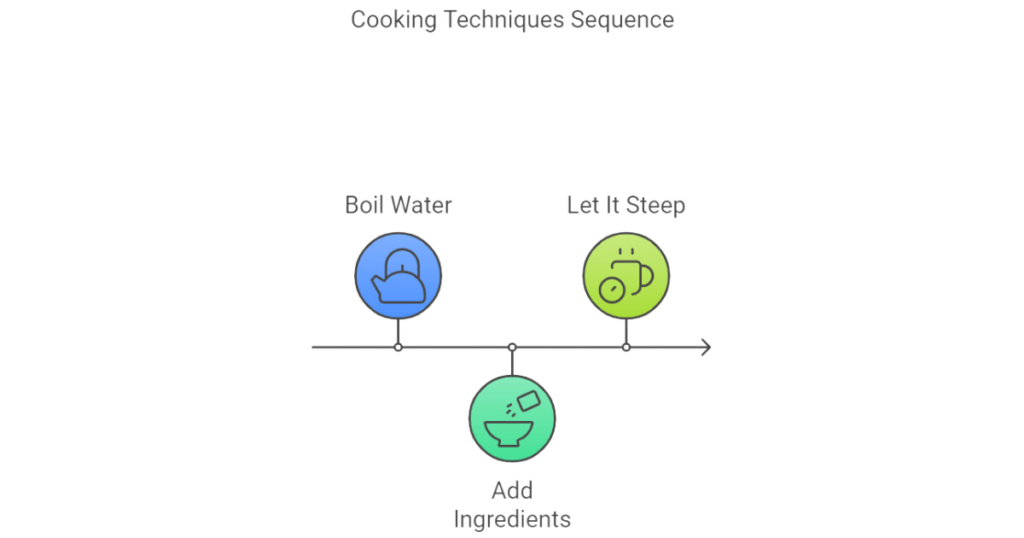
Here’s what I’ve learned about cooking techniques that actually work in the backcountry:
- The “Steep and Eat” Method:
- Bring water to boil
- Add ingredients
- Turn off stove and let steep in cozy
- Saves fuel and prevents burning Perfect for: Couscous, instant rice, quick noodles
- The “Double Duty” Technique:
- Use pasta water to rehydrate dried veggies
- Save fuel and add extra flavor
- Less water waste to pack out Perfect for: Any pasta dish
- The “Layer and Wait” Approach:
- Layer ingredients by cooking time
- Add boiling water
- Let each layer cook properly Perfect for: More complex meals with multiple components
- Always start rehydrating dried vegetables first. I add them to cold water while getting everything else ready – they need that extra time.
- Measure your water carefully! I learned this after creating “curry soup” instead of curry rice more times than I’d like to admit. I now mark water levels on my pot with a permanent marker.
- Invest in a good pot cozy. You can make one with reflective car sunshade material, or buy one – it’ll save you tons of fuel and keep food hot longer.
Temperature management is crucial too. On cold nights (and trust me, I’ve cooked in some COLD conditions), I’ve developed this system:
- Pre-warm the pot with a little hot water
- Keep ingredients in inside pockets so they’re not freezing cold
- Eat from an insulated bowl or mug
- Use your pot cozy religiously
Here’s my ultimate dinner prep tip: Create meal bags at home with everything you need, labeled with cooking instructions. When you’re tired after hiking all day, you’ll thank yourself for this organization. I include:
- Base ingredients
- Seasonings in tiny bags
- Protein packets
- Cooking instructions written on the bag
- Any special notes about water amounts
And remember – dinner cleanup in the backcountry is just as important as the cooking. My system:
- Eat everything (seriously, no leftovers!)
- Use a small scraper to clean pot
- Use minimal biodegradable soap
- Strain water through a bandana to catch food bits
- Pack out ALL food waste
One last thing – always pack one “emergency” no-cook dinner. Some nights, whether due to weather, exhaustion, or a stubborn stove, you’ll be thankful for a meal that requires zero preparation. My favorite is a wrap with squeeze cheese, nuts, and jerky. Not gourmet, but it’s saved me more than once!
Snacks and Energy Foods

Let me tell you about the time I hit “the wall” halfway up a steep mountain trail. I’d packed what I thought was enough food – just some granola bars and trail mix – but my energy completely crashed. A fellow hiker shared her homemade energy balls with me, and it was like someone had flipped a switch in my brain.
That day changed everything I knew about trail snacks!
Here’s what I’ve learned after years of trial and error: the key to successful trail snacking isn’t just about calories – it’s about timing, variety, and the right balance of quick and slow-burning energy. Think of your trail snacks like your hiking fuel gauge – you want to keep that needle from ever hitting empty.
Let me share my tried-and-true trail mix formula that I’ve perfected over countless miles:
The Perfect Trail Mix Ratio (makes about 2 cups):
- 1/2 cup salted nuts (I use a mix of almonds and cashews)
- 1/4 cup seeds (pumpkin and sunflower)
- 1/4 cup dried fruit (cranberries and golden raisins)
- 1/4 cup dark chocolate chips (they hold up better than milk chocolate)
- 1/4 cup coconut flakes (for healthy fats)
- 1/4 cup banana chips (for quick energy) Cost per batch: About $8, but way cheaper than store-bought
Pro tip: Package this in 1/2 cup portions in small ziplock bags. Trust me, if you bring the whole bag, you’ll eat the whole bag!
Now, let’s break down my energy-sustaining snack system that I call the “Power Hour Rotation”:
Quick Energy (Every 1-2 hours):
- Dried fruit
- Energy chews
- Dark chocolate
- Honey packets These are your “pick-me-ups” when you feel that energy dip coming
Sustained Energy (Every 2-3 hours):
- Trail mix portions
- Energy balls (recipe below!)
- Nut butter packets with crackers
- Jerky with dried fruit These keep you going for the long haul
My Famous No-Bake Energy Balls (makes 12):
- 1 cup old-fashioned oats
- 1/2 cup peanut butter powder
- 1/3 cup honey
- 1/4 cup chia seeds
- 1/4 cup mini chocolate chips
- Pinch of salt
- Mix, roll into balls, let set Cost: About $5 per batch
Here’s my secret weapon for different hiking conditions:
Hot Weather Snacks:
- Dried mango (nature’s candy!)
- Salted nuts
- Electrolyte chews
- Salty crackers These help replace electrolytes you lose through sweat
Cold Weather Snacks:
- Dense energy bars
- Chocolate-covered nuts
- Thick nut butter
- Ginger chews (great for circulation!) These provide more calories and warm you up
High Altitude Snacks (above 8,000 feet):
- Easy-to-digest carbs
- Crystallized ginger (helps with nausea)
- Small, frequent portions
- Hydrating fruits Your appetite changes at altitude – these are easier on your stomach
Let’s talk about emergency snacks – the ones that live at the bottom of your pack and might save your day:
- Hard candy (instant energy and mood boost)
- Sports gel packets
- Protein bar (the dense kind)
- Electrolyte powder packets
Storage tips I’ve learned the hard way:
- Double-bag everything – especially in bear country
- Keep chocolate away from direct sunlight
- Use hard containers for crushable items
- Label everything with dates
- Store nut-based snacks separately (in case of rancidity)
My energy-boosting schedule looks like this:
- Morning: Start with protein-heavy snacks
- Mid-morning: Quick energy from dried fruit
- Lunch: Complex carbs and protein
- Afternoon: Regular small snacks
- Pre-dinner: Salt and protein boost
Here’s something nobody tells you about trail snacks: they’re not just for energy – they’re major morale boosters too! I always pack what I call my “celebration snacks” – special treats for reaching milestones:
- Summit chocolate bar
- Favorite candy
- Special trail mix blend
- Fancy jerky
Cost-saving tips for trail snacks:
- Buy ingredients in bulk
- Make your own energy balls
- Repackage store-bought items
- Watch for sales on protein bars
- Dehydrate your own fruit (way cheaper!)
And here’s my number one tip: always pack 30% more snacks than you think you’ll need. I’ve never once regretted having extra food, but I’ve definitely regretted not having enough! Plus, you might make a trail friend who needs an energy boost – trail karma is real!
Remember: the best trail snack is the one you’ll actually eat. Don’t pack things just because they’re “healthy” or “traditional hiking food” if you don’t enjoy them. Your body knows what it needs on the trail – listen to it!
Final pro tip: Keep some snacks accessible in your hip belt pockets or shoulder strap pouches. When you have to stop, take off your pack, and dig around for food, you’re less likely to snack regularly. The easier it is to grab a quick bite, the better you’ll maintain your energy throughout the day.
Food Safety and Storage Tips
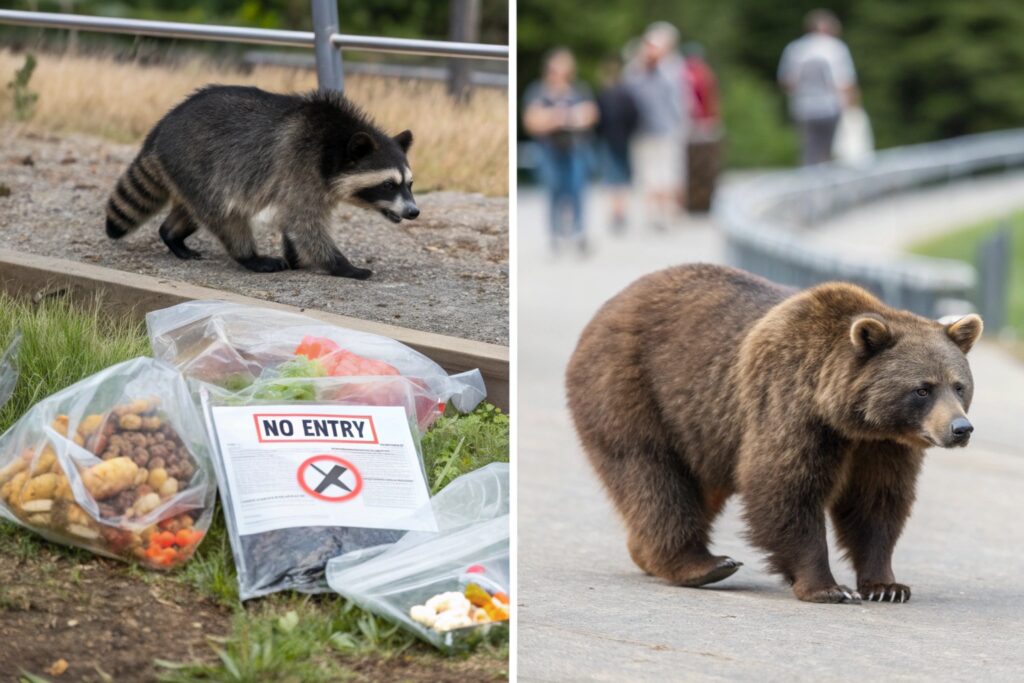
Let me start with a little story that taught me the importance of proper food storage. On my third backpacking trip, I woke up to find a raccoon had chewed through my food bag and helped himself to three days’ worth of meals. Not only was it frustrating, but it left me in a pretty dangerous situation 15 miles from the nearest trailhead. That experience changed how I approach food storage forever!
First, let’s talk about the fundamentals of food safety when you don’t have refrigeration. Here’s my tried-and-true system for keeping food safe and critter-free:
The Three-Layer Protection Method:
- Inner Layer: Ziploc freezer bags (not regular ones!)
- Double-bag all dry goods
- Remove excess air
- Label with contents and date Cost: About $5 for a box of freezer bags
- Middle Layer: Odor-proof bags
- Use specially designed camping food bags
- Great for scent control
- Helps with bear safety Cost: $15-20 for a good one
- Outer Layer: Weather protection
- Dry bag or bear canister (required in many areas)
- Protects from rain and crushing
- Makes a great camp seat too! Cost: $60-80 for a bear canister, $15-20 for a dry bag
Temperature Control Strategies I’ve Learned:
- Cool Weather Storage:
- Keep food in the middle of your pack
- Use the natural insulation of your gear
- Check temperature-sensitive items twice daily
- Hot Weather Tactics:
- Store food in shaded areas
- Use reflective barriers (emergency blanket works great)
- Keep food off hot ground
- Monitor anything that can melt
Here’s my comprehensive food safety checklist that I review every morning:
Morning Safety Check:
□ Inspect all food packages for holes
□ Check for any moisture issues
□ Smell test for anything suspicious
□ Reorganize based on day’s needs
□ Verify bear canister seal
Signs of Food Spoilage to Watch For:
- Off smells (trust your nose!)
- Changed texture or color
- Moisture where there shouldn’t be
- Mold spots
- Package bloating
My Best Practices for Multi-Day Trips:
- Day 1-3:
- Eat items with shortest shelf life first
- Monitor “questionable” items closely
- Keep track of opened packages
- Day 4-7:
- Switch to more stable foods
- Increase reliance on dry goods
- Use up partially opened items
- Week+:
- Rely on fully dehydrated meals
- Rotate food supplies if resupplying
- Be extra vigilant about storage
Bear Safety (because this is crucial):
- Camp Setup:
- Store food 100 yards from sleeping area
- Create a triangle: camp, food storage, cooking area
- Never cook near your tent
- Bear Canister Tips:
- Pack it tight to maximize space
- Store all scented items (even toothpaste!)
- Place away from cliffs or water
- Put something bright on top to find it
- Bear Hang Method (when canisters aren’t required):
- Use PCT method (look it up – it’s the best!)
- Minimum 12 feet high, 6 feet from trunk
- Use a strong cord (50 feet minimum)
- Practice before your trip!
Food Organization System:
- Morning Meals Bag:
- Breakfast items
- Morning snacks
- Hot drink mixes
- Day Bag:
- Lunch supplies
- Trail snacks
- Emergency food
- Evening Bag:
- Dinner supplies
- Evening snacks
- Cooking supplies
Special Considerations:
- Desert Camping:
- Everything melts!
- Use mylar bags for reflection
- Store food in deepest part of pack
- Winter Camping:
- Foods can freeze
- Keep snacks accessible
- Use body heat to thaw if needed
- Humid Conditions:
- Extra protection against moisture
- Check food twice daily
- Use desiccant packets in storage bags
Emergency Food Storage Rules:
- Always have one day’s extra food
- Keep emergency rations separate
- Choose high-calorie, stable foods
- Rotate emergency food regularly
The “When in Doubt” Rules:
- If it smells off – don’t eat it
- If the package is compromised – don’t eat it
- If it’s changed texture – don’t eat it
- If you’re unsure – don’t eat it
Remember: you’re often days from help, so food safety isn’t just about comfort – it’s about survival. I’ve learned to be overly cautious rather than risk getting sick in the backcountry. A little extra attention to food safety can make the difference between an amazing trip and a miserable one!
One final tip: Keep a small notebook to track when you opened different foods and any storage issues you encounter. This helps you plan better for future trips and avoid repeating mistakes. Over time, you’ll develop a sixth sense for what works and what doesn’t in different conditions.
The most important lesson I’ve learned? Good food storage isn’t just about keeping your food safe – it’s about protecting wildlife too. When we store our food properly, we help keep wild animals wild, and that’s something every outdoor enthusiast should take seriously!
Conclusion:
You know what’s amazing about mastering no-refrigeration camping meals? It’s not just about the food – it’s about the freedom it gives you. After spending countless nights under the stars and experimenting with everything from fancy dehydrated meals to simple one-pot wonders, I’ve discovered that some of my most memorable outdoor moments happened around a camp stove or sharing trail snacks at a summit.
The real beauty of everything we’ve covered here is how it all works together. Your breakfast choices affect your energy levels for morning hikes. Those strategic snack breaks keep you going through challenging terrain. A well-planned dinner becomes a reward for a day of adventure. And proper food storage? Well, that’s what ensures you’ll actually have those meals to enjoy!
Let me share some final wisdom I’ve gained from years of trail-and-error (pun intended!):
Key Takeaways:
- Plan meticulously, but stay flexible
- Practice your meals at home first
- Pack for reality, not ideality
- Always have a backup plan
- Keep it simple when you’re tired
Remember my raccoon story from earlier? Well, here’s the silver lining: that misadventure taught me that meal planning isn’t just about the food – it’s about safety, sustainability, and respect for the wilderness. Each time we head into the backcountry, we’re guests in nature’s home. Our food choices and storage methods reflect that relationship.
Looking Ahead: Start small with overnight trips to test your systems. Try one new recipe at a time. Gradually build your outdoor cooking confidence. Before you know it, you’ll be creating trailside feasts that rival home-cooked meals!
Remember: The best meal in the backcountry isn’t always the fanciest – it’s the one that fuels your adventure while keeping you, your fellow travelers, and the wilderness safe. Now get out there and create your own outdoor culinary adventures!

